


Hair Guide
Jump to: Before the first use | Care | Color | Tips
Welcome to your comprehensive, step-by-step guide to the perfect hair care products for your training head!
From the right cleaning methods to the optimal care routine and styling tricks – here you’ll find everything to get the most from your hair. Whether you’re an aspiring hairdresser or just here to improve your own skills, our HairGuide is your faithful companion, with expertise, insider tips, and ideas to inspire.
Together we’ll get your training head in top shape while leveling up your skills!

BEFORE THE FIRST USE
1. Check your product
Despite the greatest care within our processes, processing errors may occur in individual cases. Therefore, please check your product immediately upon receipt - even before you start using it. Please never color, cut or label the head before you have checked the following. Please be sure to follow the instructions below to ensure proper use of your training head.
1. Preparation

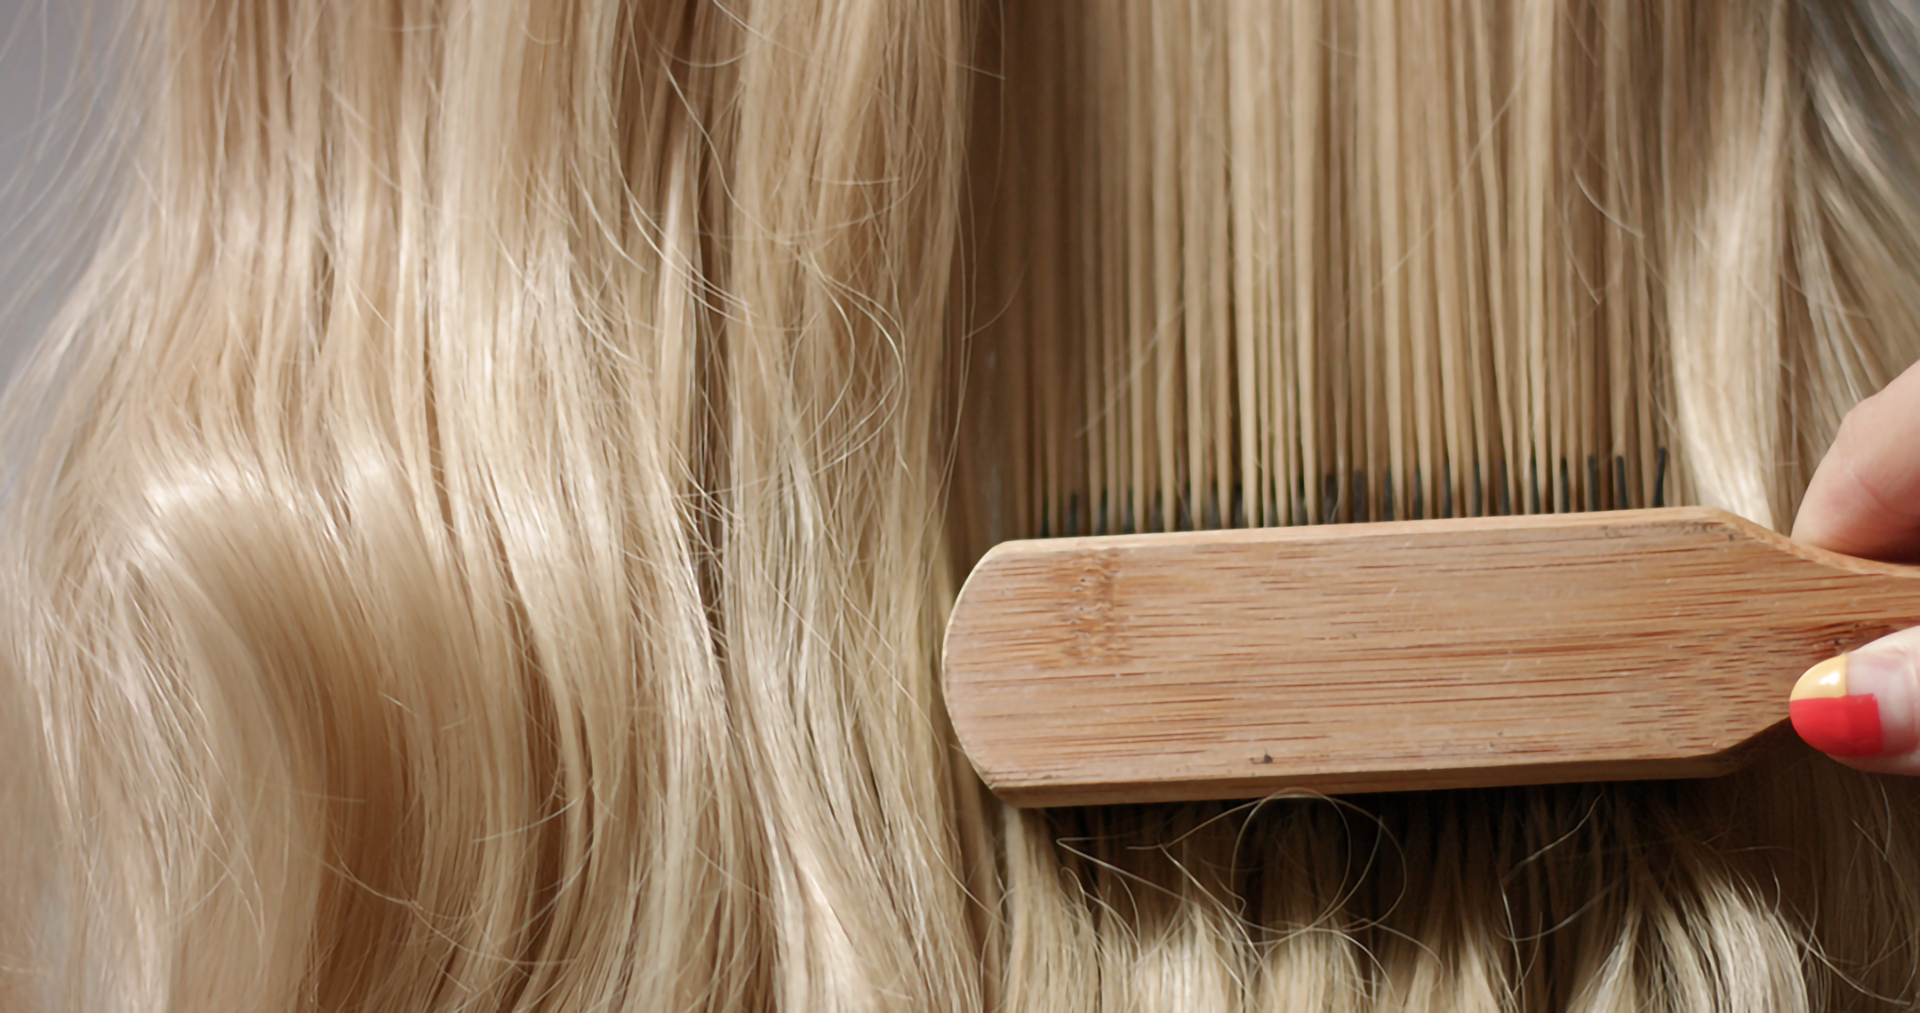
2. Combing
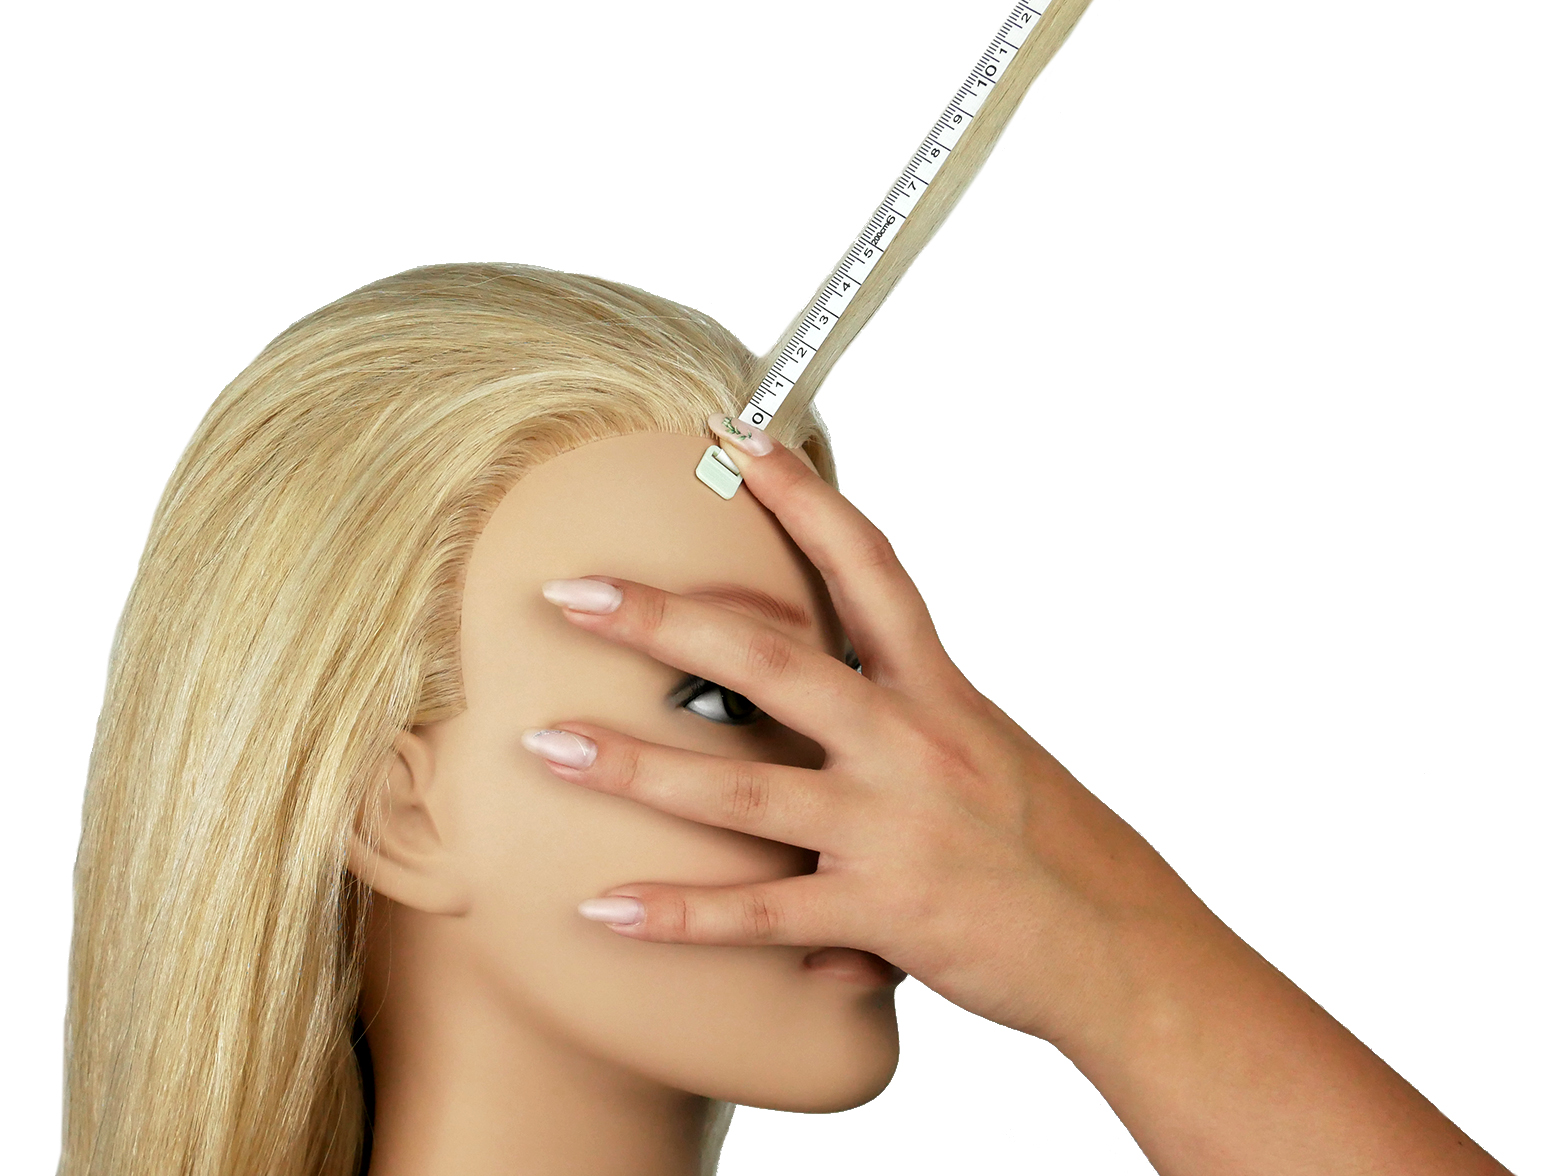
3. Measure
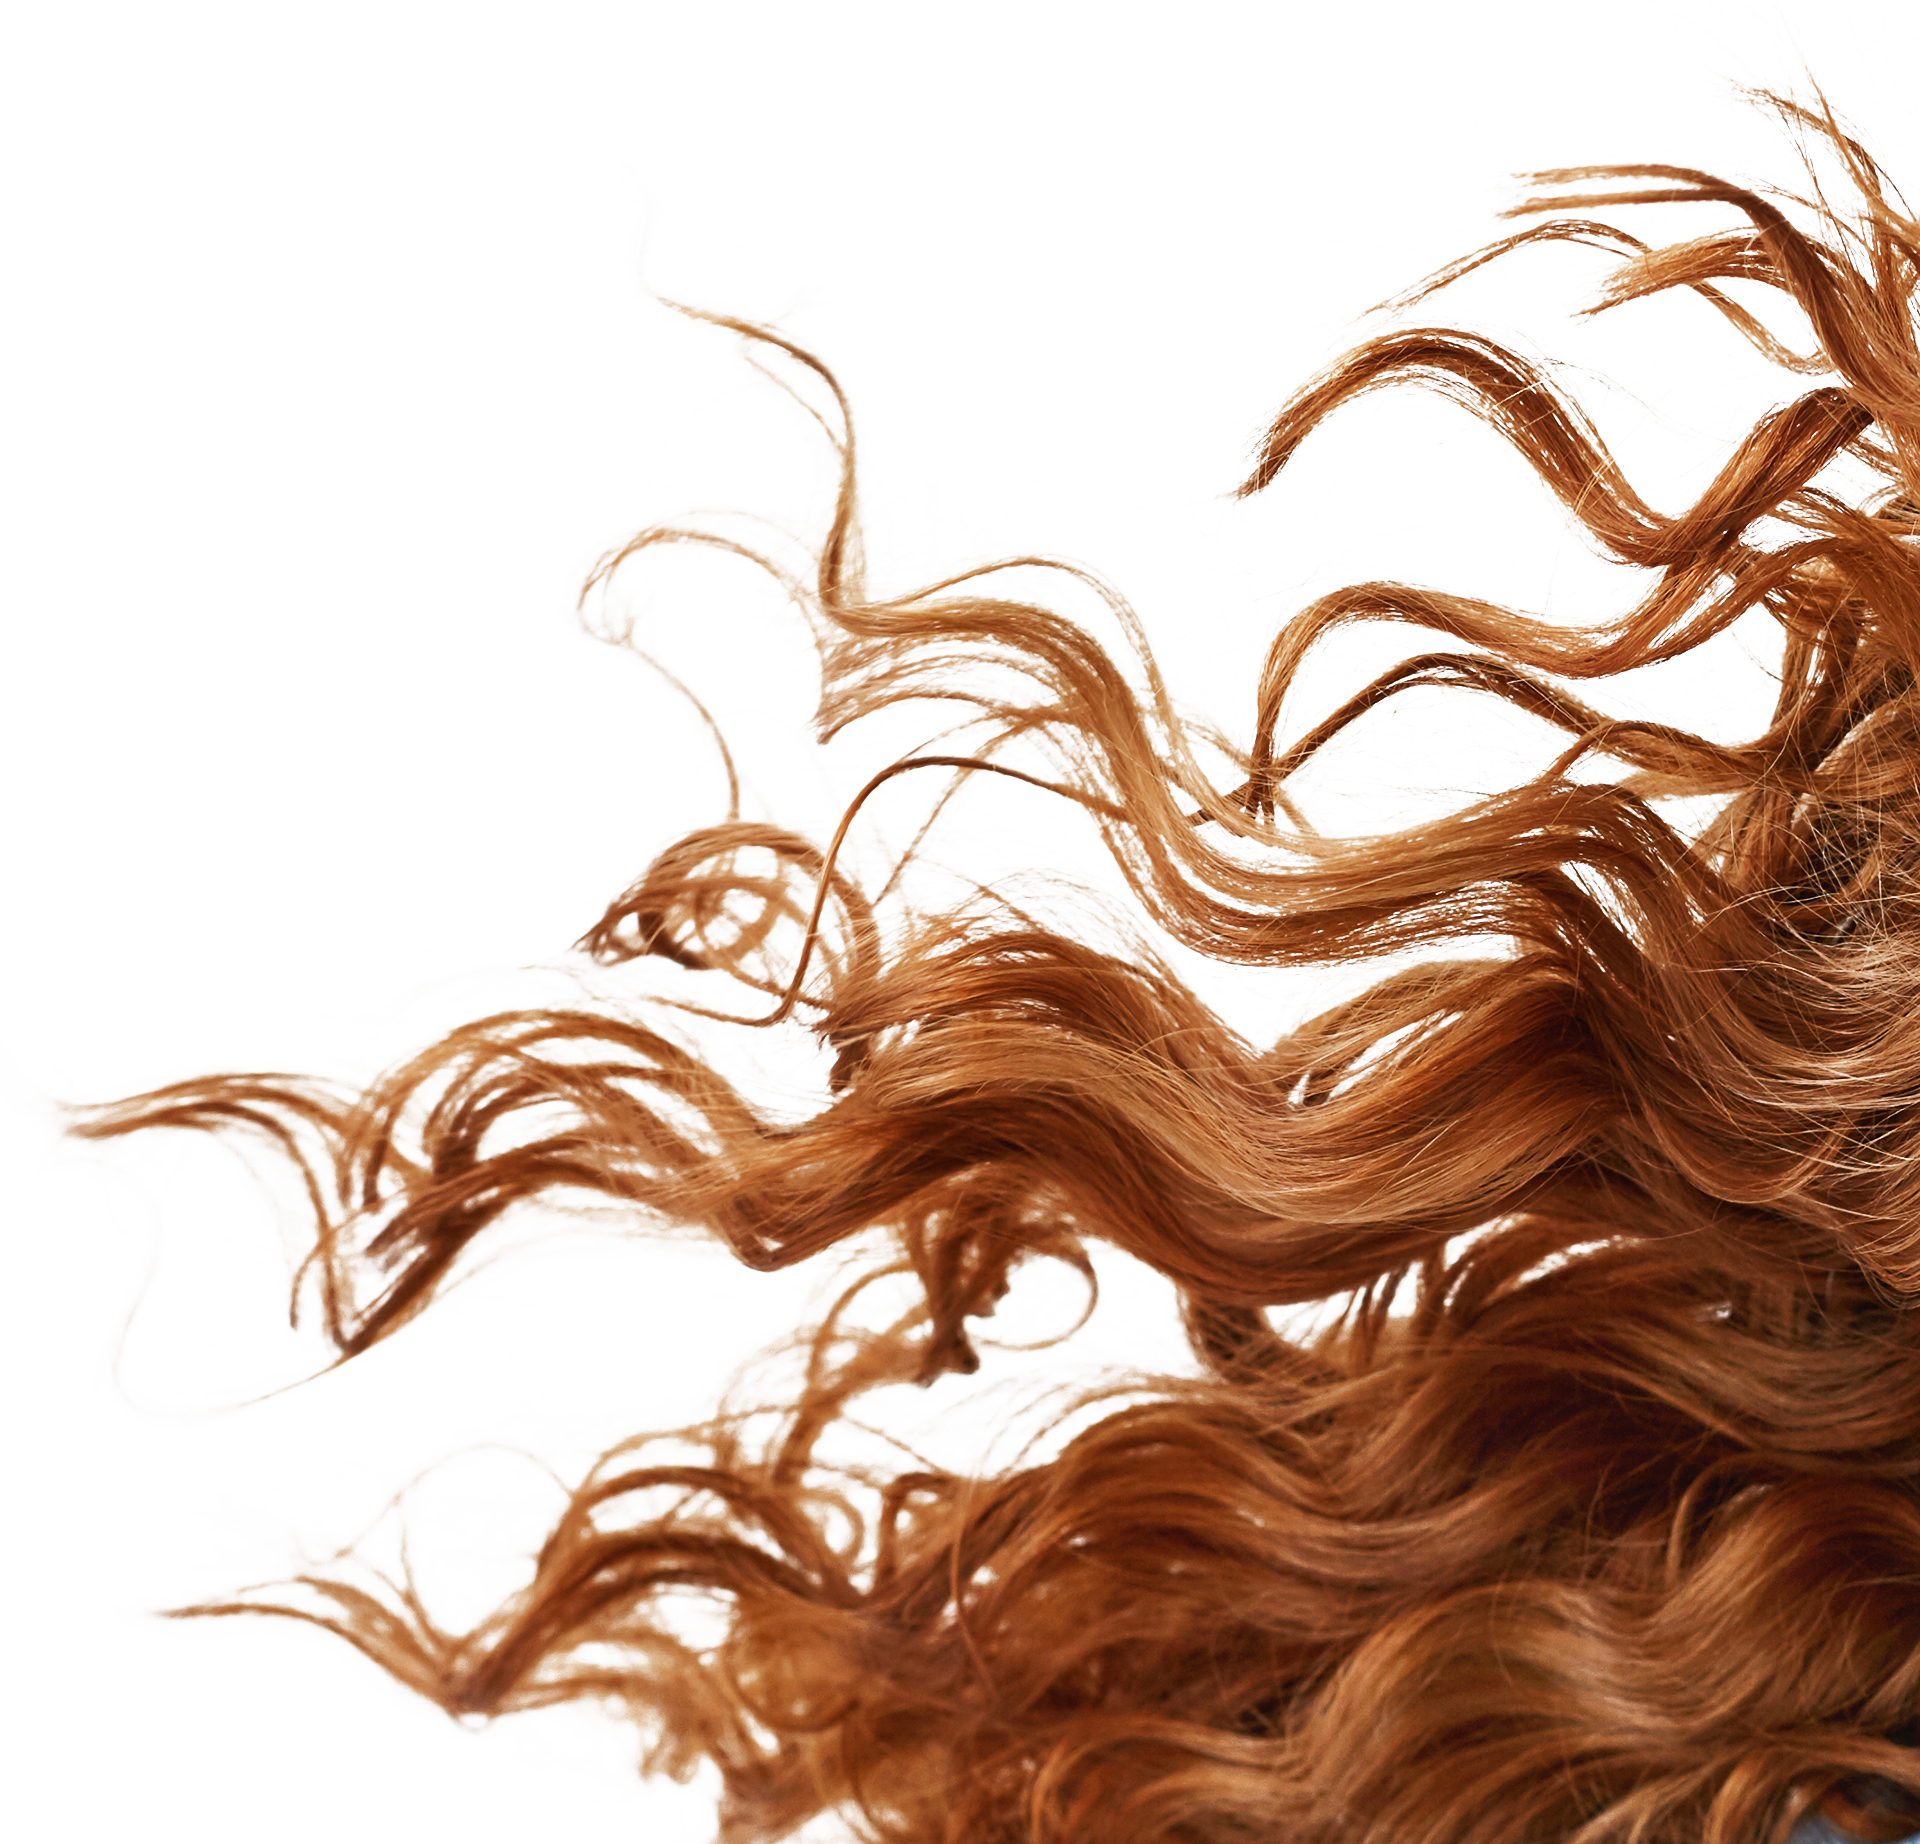
To measure, hold the strand of hair straight out from the rounding of the head.
2. Notices
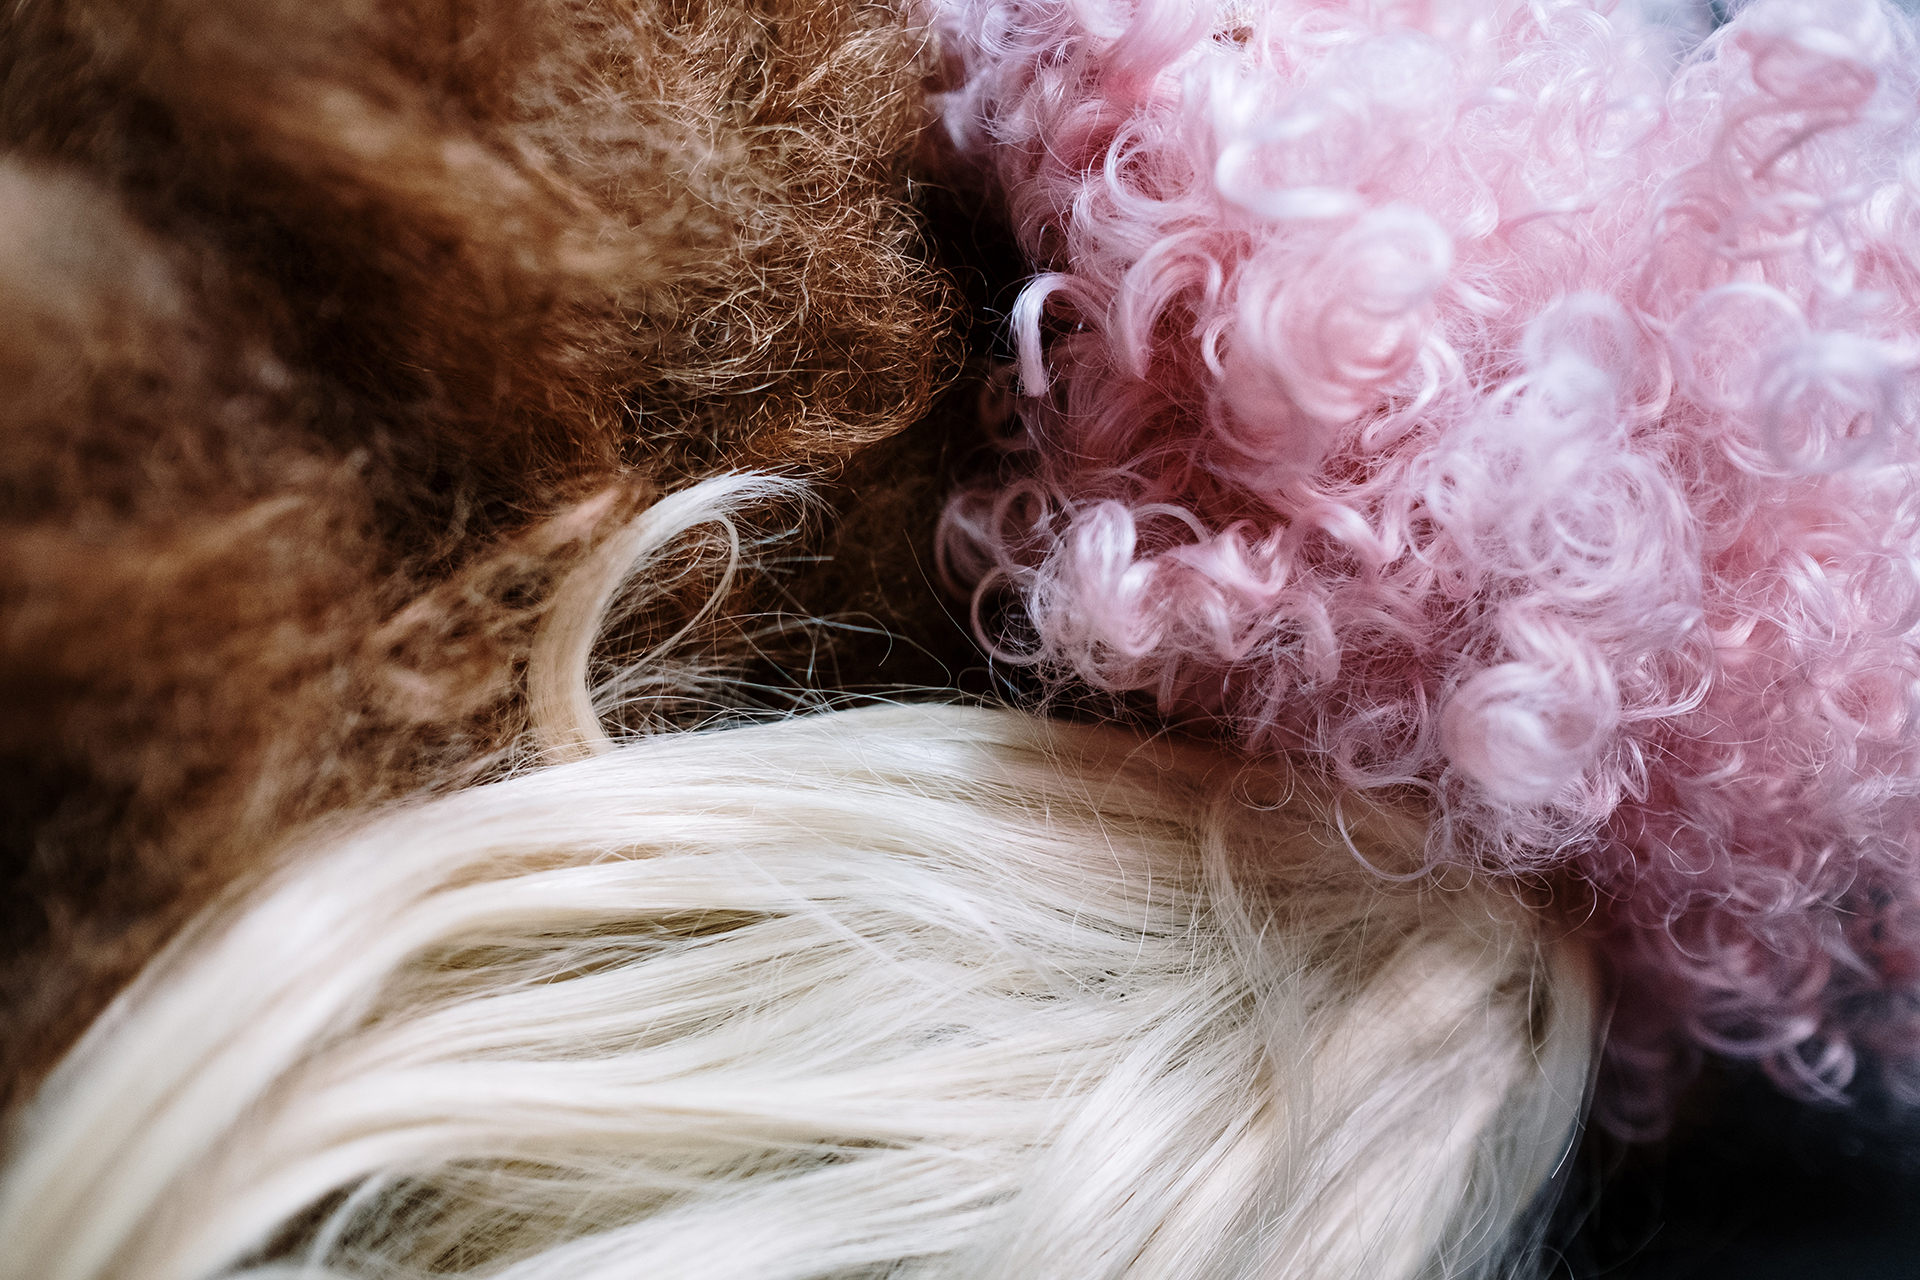
Some peculiarities may occur due to the pure handwork and are completely normal.
-
Dark hair and colored thread
Simply snip them off. Dark hair lends the head a natural look. - White specks
These are NOT lice or nits! These are just remnants of polyurethane foam that can be combed out. The hairs have neither a cuticle nor blood, so they don’t attract lice and the like. - Thin ends
The ends are somewhat finer than the roots and the rest of the strand in order to mimic natural hair growth. - Porous, damaged hair
Help porous, damaged hair along with our spray treatment! - Marks on the face
Simply use nail polish remover and a cotton pad to wipe them away. Caution: do not rub over the eyes, eyebrows, or lips! The make-up was applied to the head with an airbrush and comes off with solvent. The skin, by contrast, is dyed fast and withstands acetone.


3. need help?
CARE
1. correct use

1. Wash
Before the first use, wash the head in the direction the hair falls.
- Work Shampoo into wet hair with a brush from the ends, through the lengths, to the roots
- Thoroughly rinse out shampoo residues with lukewarm water
- Squeeze moisture out with a towel, but never rub the hair
- Carefully comb out hair, starting from the tips and working your way to the roots
- In general, wash as little as possible

2. Aftercare
- Never allow to dry without combing
- Apply Conditioner with a brush in the direction the hair falls
- Leave on for three to five minutes and then rinse thoroughly with running water

3. Care
- The spray cure should be shaken well before use
- Then sprayed evenly but sparingly onto towel-dried hair
- Do not rinse
2. PROTEIN AND MIXED HAIR TYPES
- Not suitable for heat treatment above 120 degrees
- Only suitable for coloring to a limited extent - bleaching and lighter coloring not possible
- If using darker dye, the resulting color is not very intense
- Not suitable for perms
- Better cut dry
- Protein hair tends to have a slippery surface. Therefore, updos are rather difficult, while braided hairstyles work fine
3. Perms
L'IMAGE heads have human hair that can be reshaped with any commercial perm:
- Use the dosage for damaged or color-treated hair
- Exposure time should be soft and short
- When choosing a wrap, use a wrap thickness greater than needed for the desired target
- Use a rapid fixative
- After a perm or updo, remove all rollers and clips. Do not leave in overnight: The tension on the scalp could cause hair to fall out
- Thoroughly brush out styling residues before each subsequent application

Color
1. CORRECT COLORING
Important: Training head hair has already been chemically treated and lightened!
- Cut and apply a light blonde wash before the first dyeing.
- The exposure times for hair coloring are 50 minutes maximum without heat. Depending on the desired brightness, shorter times also suffice.
- All application and streaking techniques can be used.
2. COLOR INSTRUCTIONS
- The hair can be dyed with common oxidative hair dyes and direct dyes.
- The best way to refresh hair color is by using clay rinses. Direct dyes are best for achieving color nuance and undertones. /34 (gold/copper or warm tones) are dye easily. /6 violet fades (The hair reacts here like any other blonde hair.).
- Pure vegetable dye is not suitable.
- For the fashion field, a plant-based tint is the first choice.
- Silver or pigment shampoos can also be used on the training head; the results will be slightly more intense than on the client.
Bleaching
Material for dyeing blonde:
Bleaching powder or gel + H2O2 1.5% (maximum 3%).


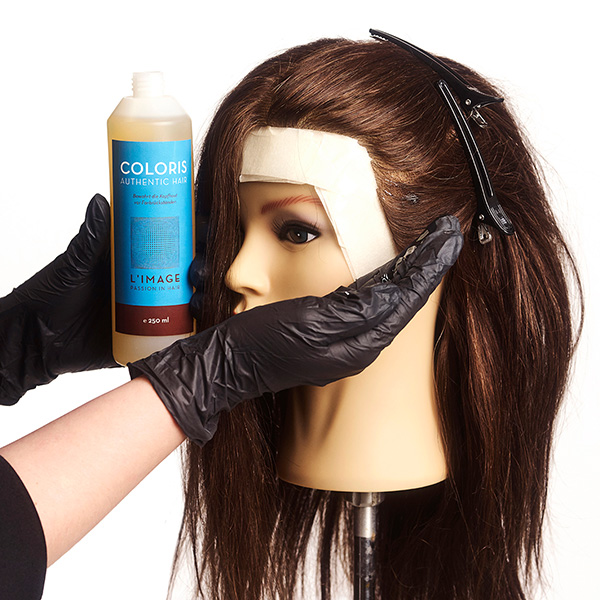
3. Wonder weapon coloris
Due to higher specific gravity, Coloris settles like a protective film between the skin and the hair dye:
- Mix approx. 10 ml into the oxidative hair color per application
- Apply pure Coloris over the ear area and on the contour with cotton swabs
- Tape over the contour for safety
- If color does get on the skin, be sure to wipe it off immediately
- Works for customers and for the training head!
TIPS
Know how!
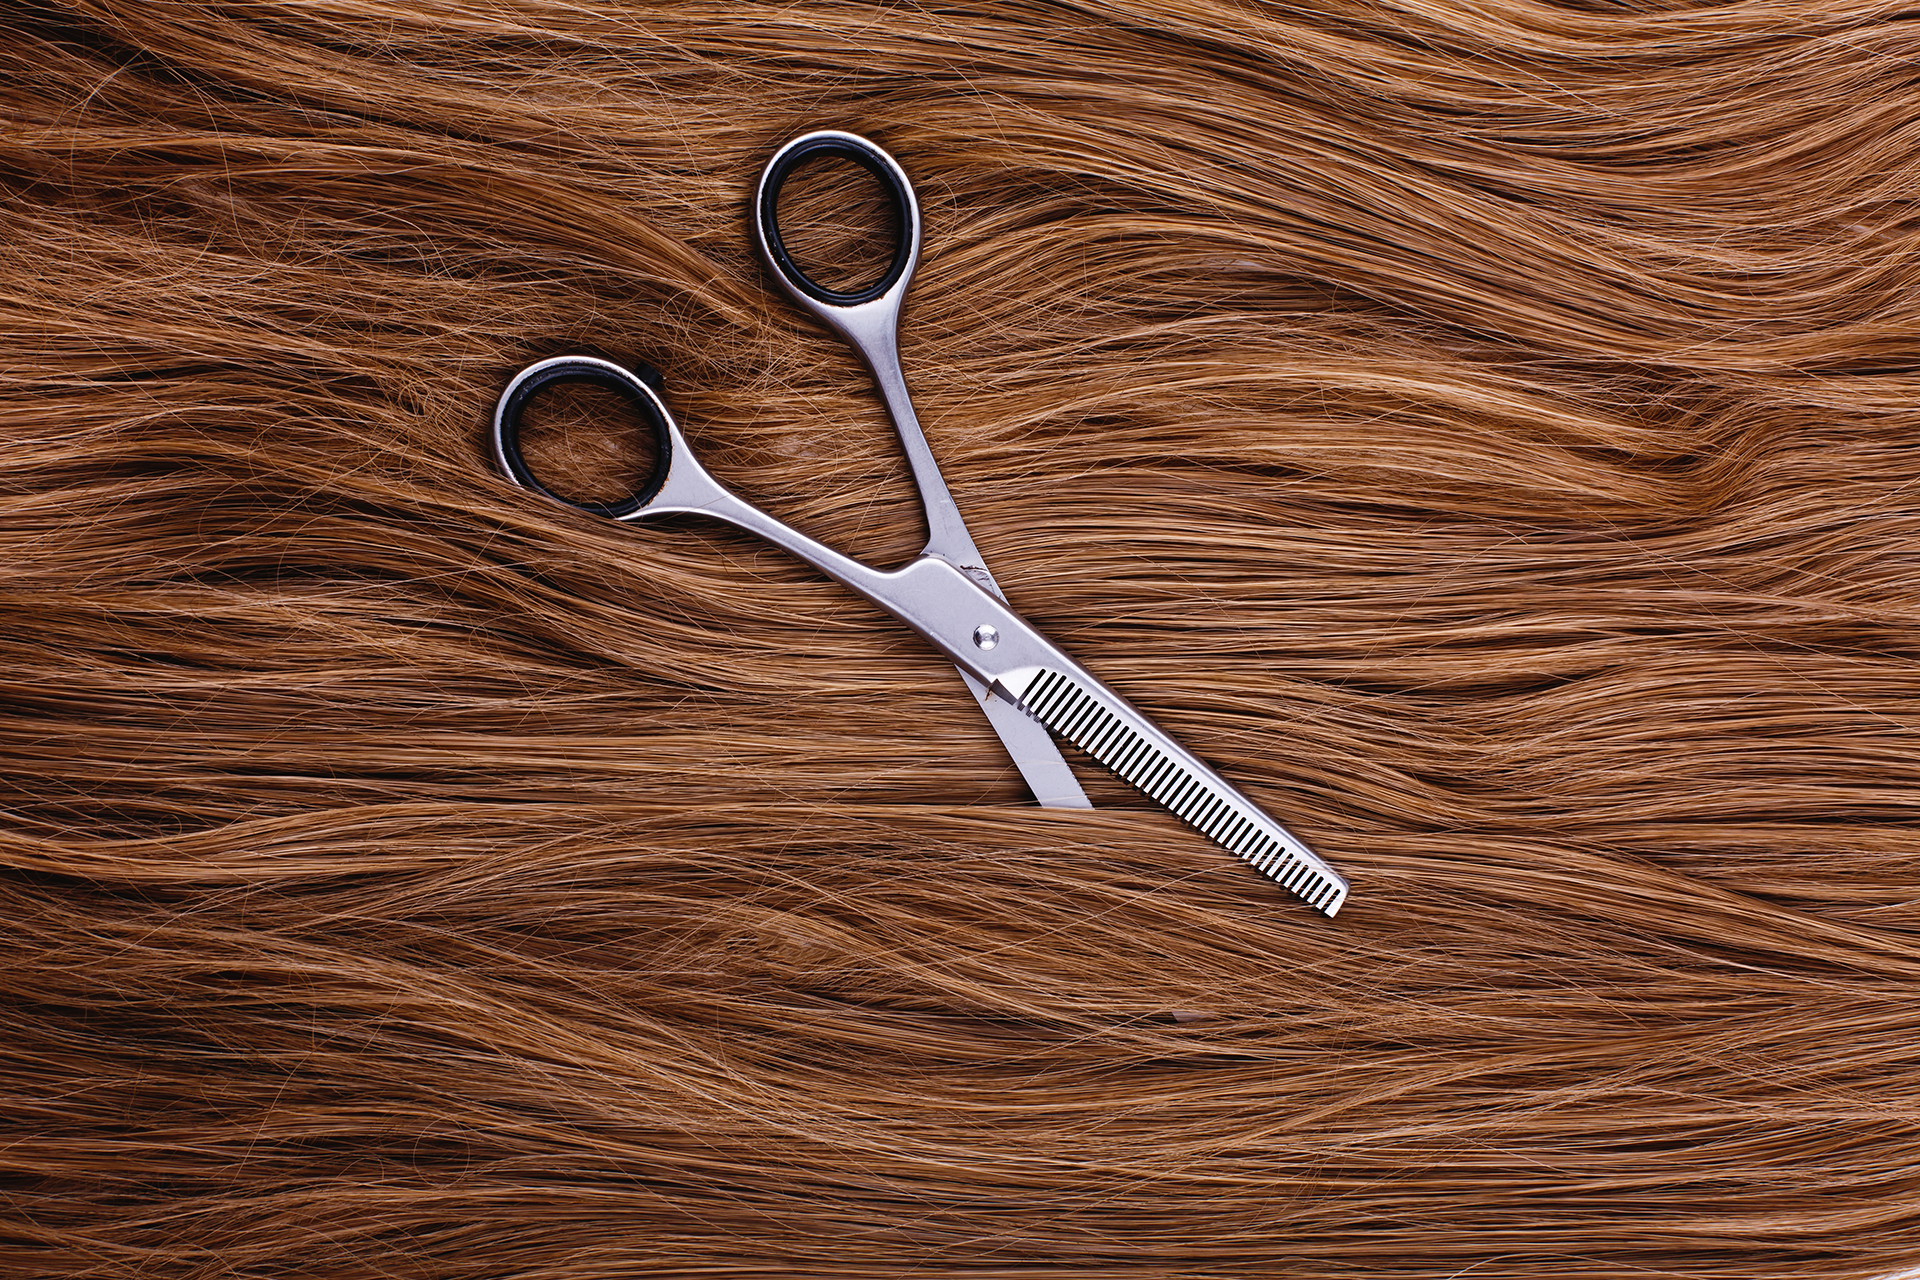
1. CORRECT CUTTING
To prepare hair for styling, start with an effilage cut and shape the hair progressively in several steps. The effilage cut is necessary to make the hair fall softly.


2. Hair grip
As a preparation for up-do:
- Use the effilier or modeling scissors to create support hair, which helps especially when backcombing the hair.
- Washing it once often makes the hair easier to work with afterwards.
- Protein hair is generally not as manageable as human hair. Volume powder is almost a must for any hairstyle.
3. Heat Styling
Human hair can be treated with heat without any problem. Again, use heat protection when using heat tools.
For heads with protein or mixed hair, use a curling iron or straightener with temperature control. Please avoid temperatures above 120 degrees.

3. Make Up
- Nail polish remover can be used to remove the original makeup
- Be careful around the eye area, eyebrows and lips on the training head
- Use commercial make-up
- Nail polish is recommended as a substitute for lipstick
- Use spray fixative to set the make-up
- Hairspray holds for longer, but makes the "skin" shine
- Glue on artificial eyelashes with a commercially available liquid adhesive.

